
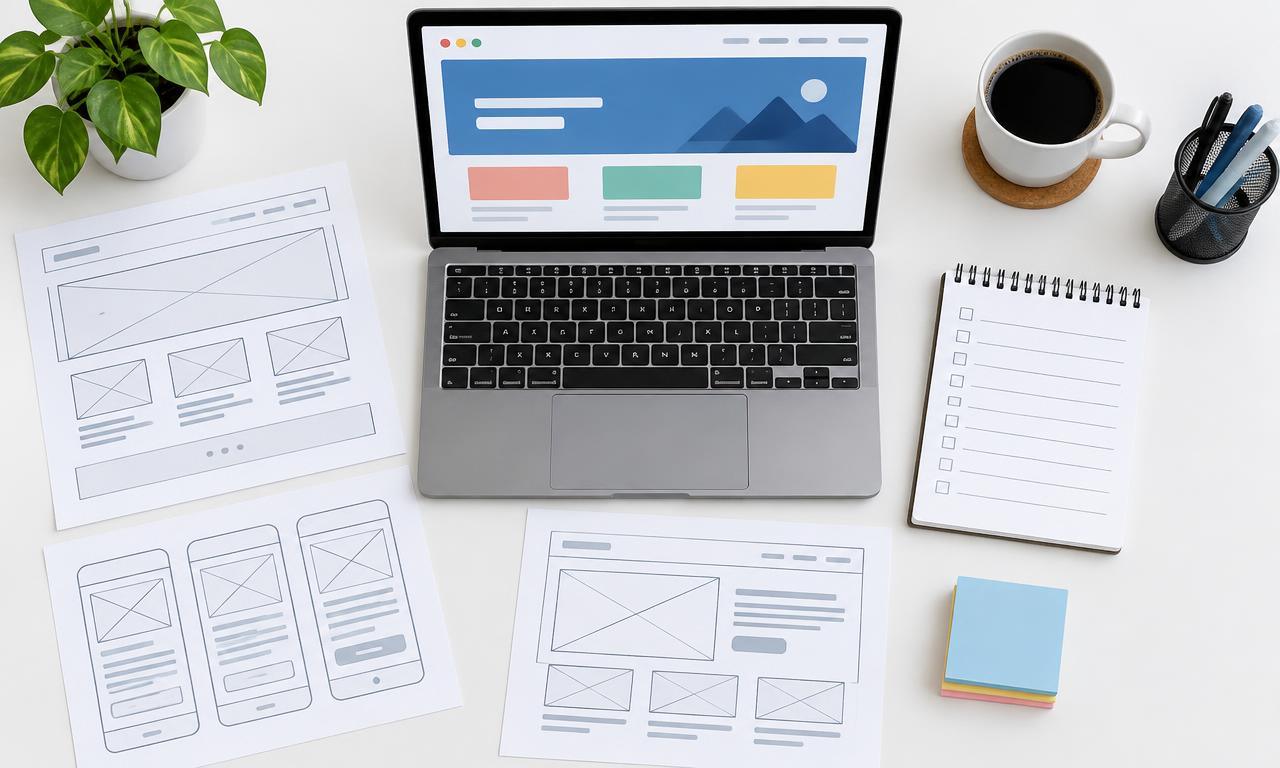
A website launch is a sequence of content, design, technical, and ownership checks—not simply the moment you click Publish. This checklist helps you prepare the essential materials, test a visitor’s journey, and release a small business website with a clear plan for fixing problems afterward.
What Should You Check Before Launching a Website?
Define the site’s main job, prepare its pages and assets, then build around the actions visitors need to complete. Before launch, check real devices, keyboard access, forms, search settings, domain configuration, and account ownership. Publish only when critical journeys work, then verify the live site because preview mode cannot reveal every production issue.
1. Agree on the launch scope and gather the content
Why: A template cannot resolve an unclear message or a missing service description. Preparing content first helps you distinguish essential pages from ideas that can wait until after launch.
How: Write one sentence describing the site’s primary purpose and one describing its intended audience. A local repair business might want visitors to request an appointment; a consultant might want qualified inquiries. Choose the main action and make supporting information easy to find.
Create a simple page list with an owner for each item. A small service site might need Home, Services, About, and Contact, plus appropriate policy information. Do not add pages merely because a template contains them. Empty news sections and unfinished galleries create maintenance work without helping visitors.
Gather approved copy, brand colors, type choices, original images, and any logo files you already use. Confirm you have permission to publish photographs, testimonials, and third-party materials. A polished logo is not a prerequisite for a useful site, but accurate contact details and clear service information are.
Set a content freeze for launch-critical pages. Keep nonessential improvements in a separate list so a new animation or extra section does not repeatedly delay publication. Decide who can approve wording and who can authorize the final launch.
2. Build the navigation around visitor tasks
Why: Visitors should not need to understand your internal organization to find an answer. Clear labels and a predictable layout make it easier to move from interest to action.
How: Use navigation labels that describe the destination, such as Services or Contact, rather than clever but ambiguous phrases. Keep important information prominent, but do not force every detail into the first screen. Different devices show different amounts of content before scrolling.
Make the primary action specific: “Request an appointment” is clearer than “Go.” Place it where visitors have enough context to decide, and repeat it where useful without making every paragraph compete for attention. A contact page should state what happens after a submission and offer another route if the form fails.
Review headings as an outline. They should describe the page’s sections in a meaningful order rather than serve only as decorative text. Keep button styles, spacing, and recurring components consistent across pages.
Use a simple readiness table to avoid treating design approval as the whole launch decision:
| Area | Ready when | Owner to assign |
|---|---|---|
| Content | Claims, contact details, and links are approved | Content lead |
| Visitor journey | Main action works from start to finish | Site owner |
| Accessibility | Basic keyboard and visual checks are complete | Builder or reviewer |
| Search setup | Intended pages are discoverable and described | Site administrator |
| Operations | Domain, billing, recovery, and support are documented | Account owner |
One person can hold several roles. The point is to make responsibility explicit rather than assume someone else checked a critical item.
3. Check mobile usability and basic accessibility
Why: A page that looks attractive in the editor can still be difficult to read or operate. Accessibility checks also reveal practical usability problems such as unclear labels, lost focus, and controls that are hard to activate.
How: Open the site on an actual phone as well as using the builder’s preview. Check portrait and landscape views, long headings, menus, embedded maps, image crops, and any sticky banners. Increase text size and look for overlapping content or horizontal scrolling that blocks ordinary reading.
Navigate using the keyboard without a mouse. You should be able to reach interactive elements, see where focus is, and activate relevant controls. Verify that menus and dialogs can be exited without trapping the user.
Use descriptive alternative text for informative images; decorative images should not produce unnecessary spoken content. Check that form fields have visible, meaningful labels and that instructions do not depend solely on color. Error messages should explain what needs correcting.
The W3C preliminary accessibility checks cover practical starting points including page titles, headings, alternative text, contrast, keyboard interaction, and forms. W3C also makes clear that these easy checks are not a complete accessibility evaluation. For higher-risk or regulated projects, arrange a fuller review rather than presenting a quick checklist as certification.
4. Prepare images and search settings
Why: Search engines and visitors both need clear information about what a page contains. Large or poorly chosen assets can also make a simple page unnecessarily slow.
How: Resize images for their intended use and use the builder’s supported compression and modern image-format options where appropriate. JPEG can suit photographs, PNG can suit certain graphics, and formats such as WebP or AVIF may offer efficient delivery when supported. The best choice depends on the image and the platform, not a universal rule that one format always wins.
Write a distinct, descriptive title for each important page and an accurate meta description. Do not repeat a list of keywords or promise information the page does not contain. Make URLs readable before launch where the builder allows it, and keep navigation links consistent with the final addresses.
Google’s SEO Starter Guide emphasizes useful content, understandable organization, and helping search engines discover and interpret pages. These practices do not guarantee rankings or a particular search-result appearance.
Confirm that the published site is not accidentally blocked from indexing by a setting left over from staging. At the same time, keep drafts and private materials out of public access; a search-exclusion setting is not a substitute for authentication. If replacing an existing site, map important old URLs to appropriate new pages using supported redirects rather than sending every old address to the homepage.
5. Test complete journeys with realistic examples
Why: A button can work while the process behind it fails. Testing must reach the actual destination: a delivered inquiry, a confirmed booking, or a completed permitted test purchase.
How: Test navigation, footer links, phone links, downloads, and forms in more than one browser. For forms, try valid input, an invalid email address, missing required fields, and a submission from a phone. Check both the visitor’s confirmation and the message received by the responsible person.
Here is a hypothetical example. A repair business launches five pages with one appointment-request form. A visitor opens Services on a phone, selects “Request an appointment,” enters a name and email, and receives a confirmation explaining that a person will reply. The owner then verifies the inquiry reached the correct inbox and that Reply goes to the visitor rather than a system address.
That test does not require real customer information. Use clearly labeled sample details and remove test records afterward. For checkout, use the provider’s supported test mode where available and confirm how it differs from the live payment configuration.
Record failures by severity. A broken contact form or missing service page can block launch; a minor spacing issue may be safe to schedule later. Retest fixes instead of assuming an edited setting solved the problem.
6. Publish with an ownership and recovery plan
Why: Domain and account problems can make an otherwise finished website unavailable. A launch plan should address who can restore access and what to do if the live site behaves differently.
How: Confirm control of the domain registration, builder account, renewal notices, and recovery email. Use individual authorized logins where supported rather than sharing one password. Enable multifactor authentication; CISA’s guidance explains why this adds protection beyond passwords.
Follow the builder’s domain instructions carefully and preserve existing DNS records, particularly those supporting email. Verify the intended hostname, secure HTTPS access, and redirects between alternate versions where supported. DNS changes can take time to become visible, so avoid promising an exact universal switchover time.
Before replacing a live site, save an available backup or export and document how to revert the relevant settings. Do not assume an export contains the complete design, account configuration, or every integration. Identify the provider’s actual recovery options.
After publishing, repeat the main journey on the live domain. Check forms, payment settings if applicable, key links, and public visibility. Schedule an early follow-up review, then ongoing checks for broken links, outdated information, billing notices, and unanswered inquiries. Add analytics only with an appropriate privacy approach and a clear reason for collecting the information.
Questions About Website Launches
Should I wait until every page is perfect?
No, but launch-critical information and journeys must be reliable. Publish a smaller complete site rather than a larger unfinished one. Never treat incorrect contact information, exposed private content, or a failed checkout as cosmetic issues.
Do I need a cookie banner on every website?
Requirements depend on your jurisdiction and what technologies the site uses. Inventory analytics, advertising, embeds, and cookies before deciding. A generic banner does not by itself establish that your data collection or consent process is appropriate.
What if my form works but messages go to spam?
Check the builder’s notification setup, destination address, and supported email-authentication guidance. Keep a record of test submissions and verify delivery in the actual mailbox. Provide another contact route while investigating rather than relying solely on a confirmation screen.
How often should I review the site after launch?
Choose a schedule based on how frequently your information changes and how important the site is to operations. Review critical journeys after significant edits, integration changes, or domain updates, even if a routine review is not yet due.
Launch Only After Essential Checks
A launch is ready when visitors can understand the offer, complete the main task, and reach a responsible person if something goes wrong. Keep the checklist focused on evidence of working journeys rather than the appearance of a finished template.
Next steps: Compare platforms with how to choose the right website builder, learn how website builders work, or browse Website Builder Reviews.
Sources
- W3C WAI — Easy Checks: A First Review of Web Accessibility
- Google Search Central — SEO Starter Guide
- CISA — Turn On MFA
This guide is general education, not legal or security advice.